Deploy Django Rest API to Azure Web App
1 - Get the Django Rest API source codes ready
2- Login to Azure portal and create App service plan
3- Open the app by Visual Studio Code
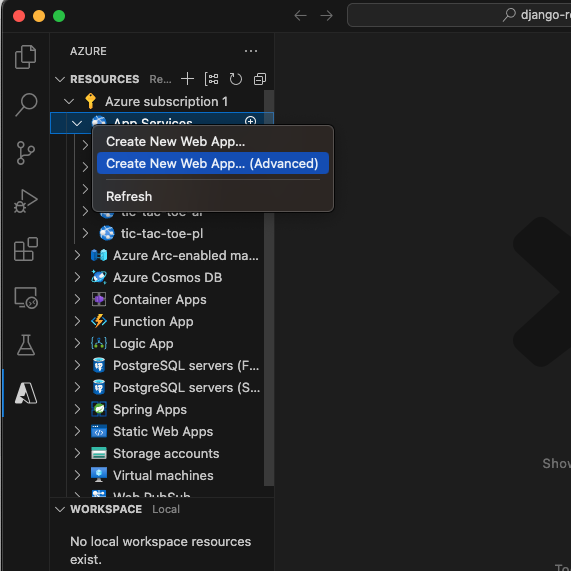
Create New Web App
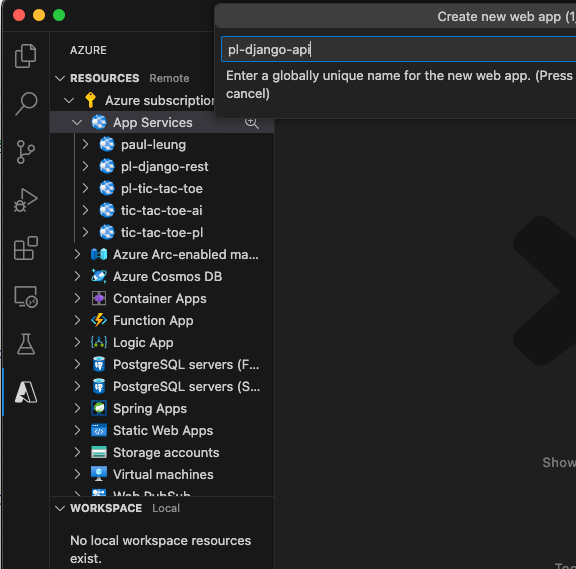
Enter the Web App name
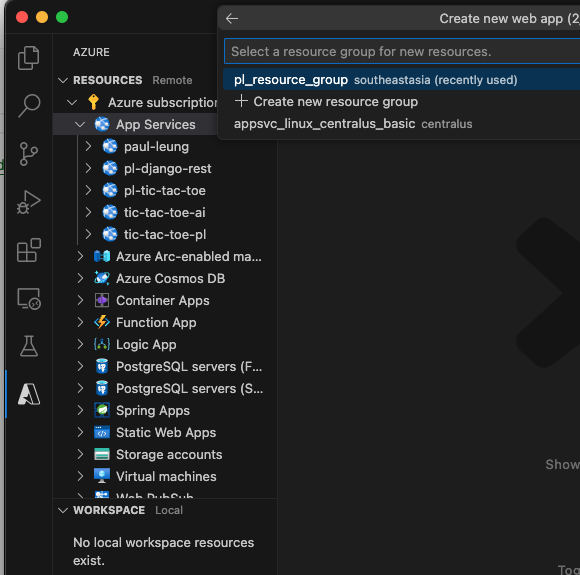
Choose the resource group
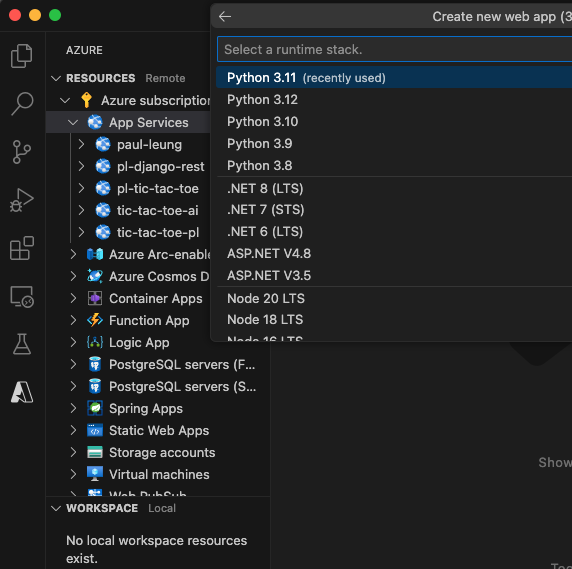
Choose the runtime stack
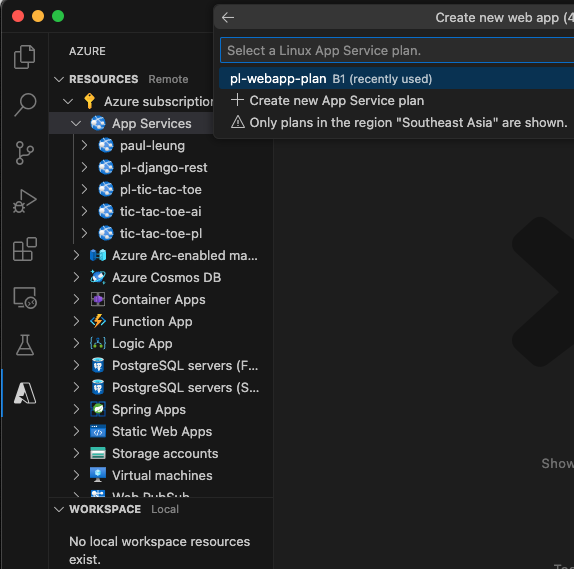
Choose the App Service plan
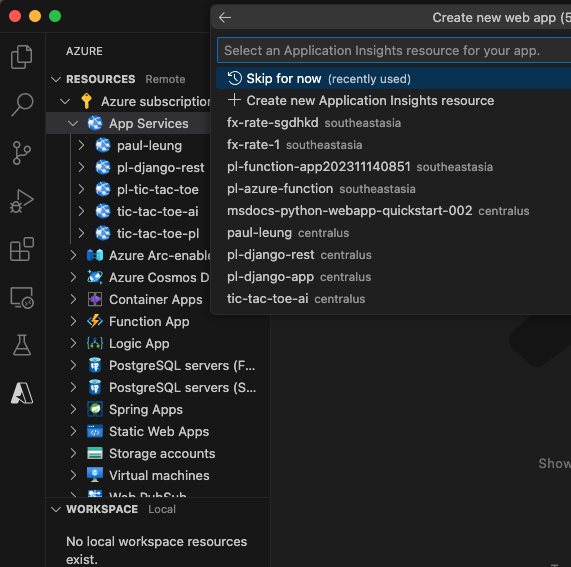
Skip for Application Insights
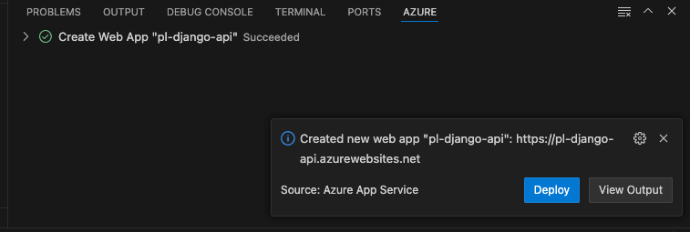
New Web App has been created successfully
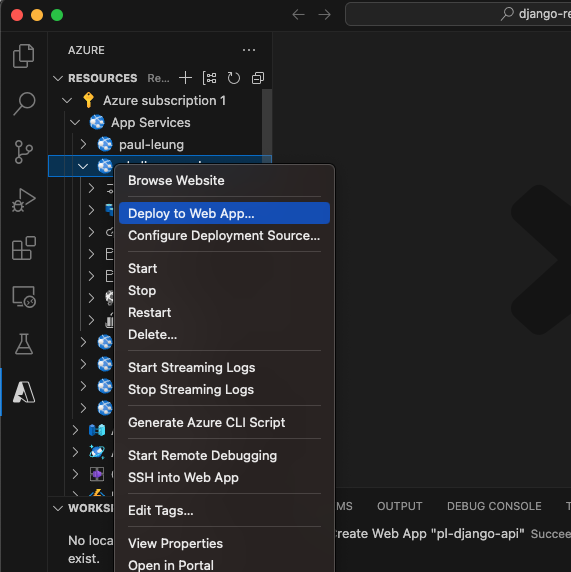
Deploy to Web App
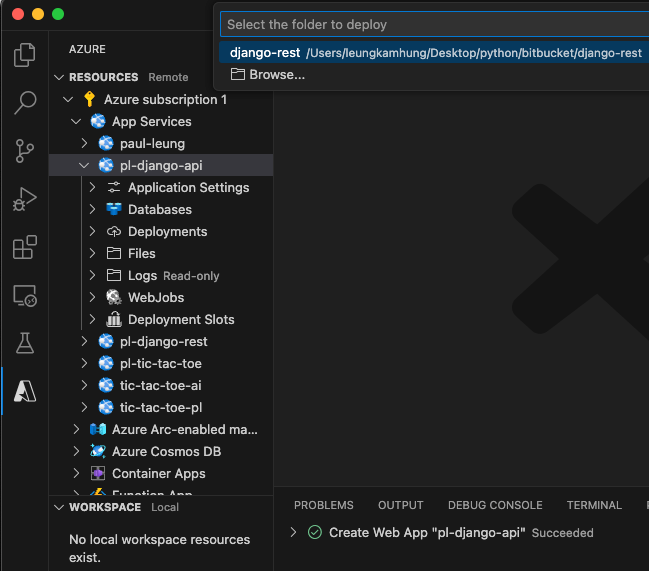
Choose the source code folder
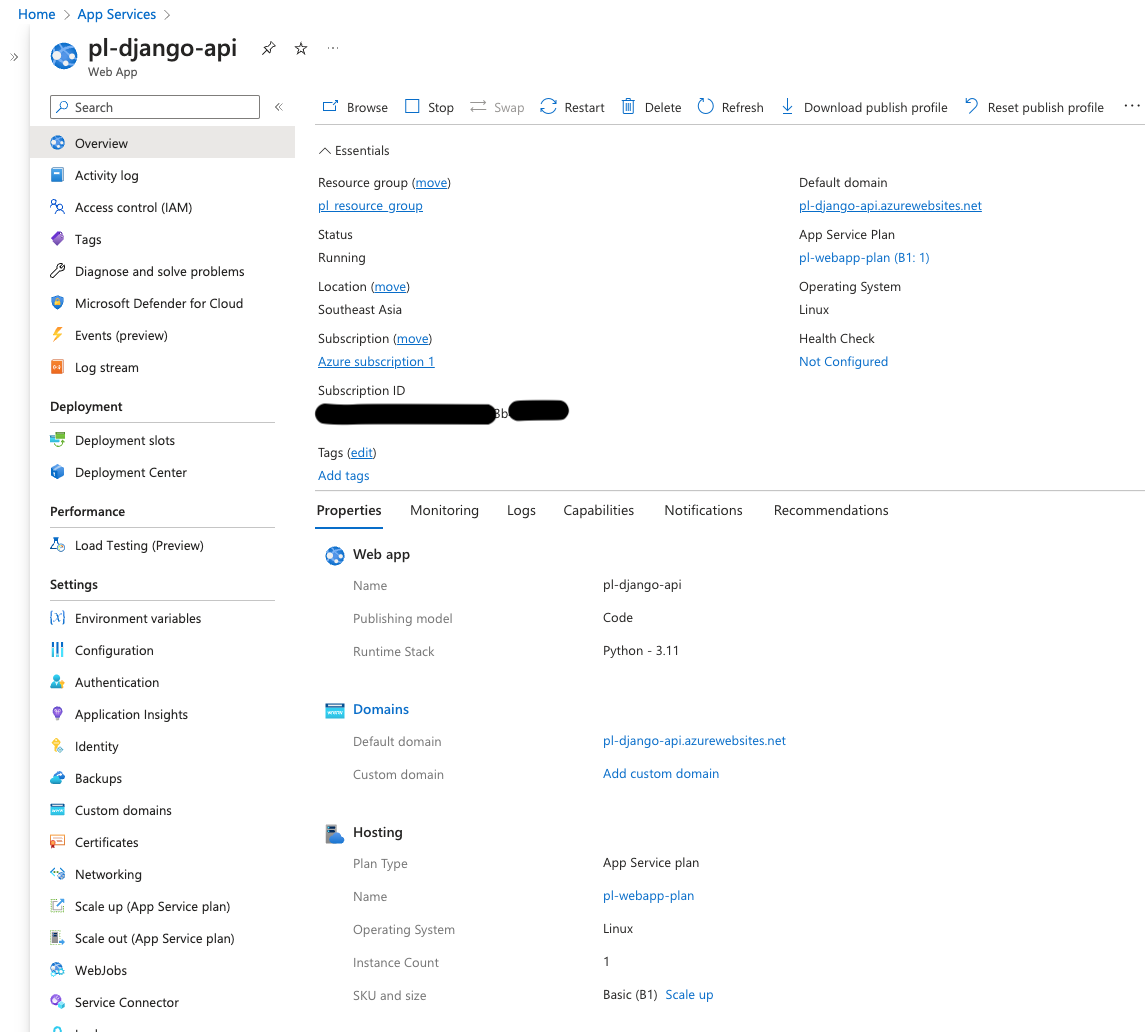
Go to App services you can see the web app is created
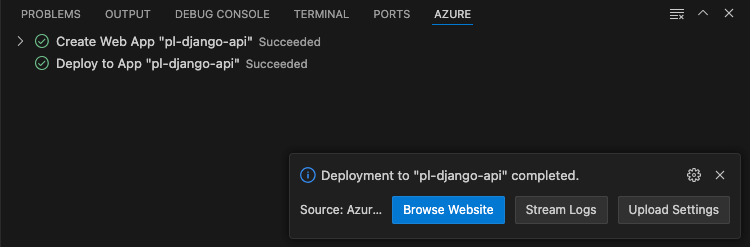
Web App has been deployed successfully
Check the Errors count is zero in the deployment log as shown below
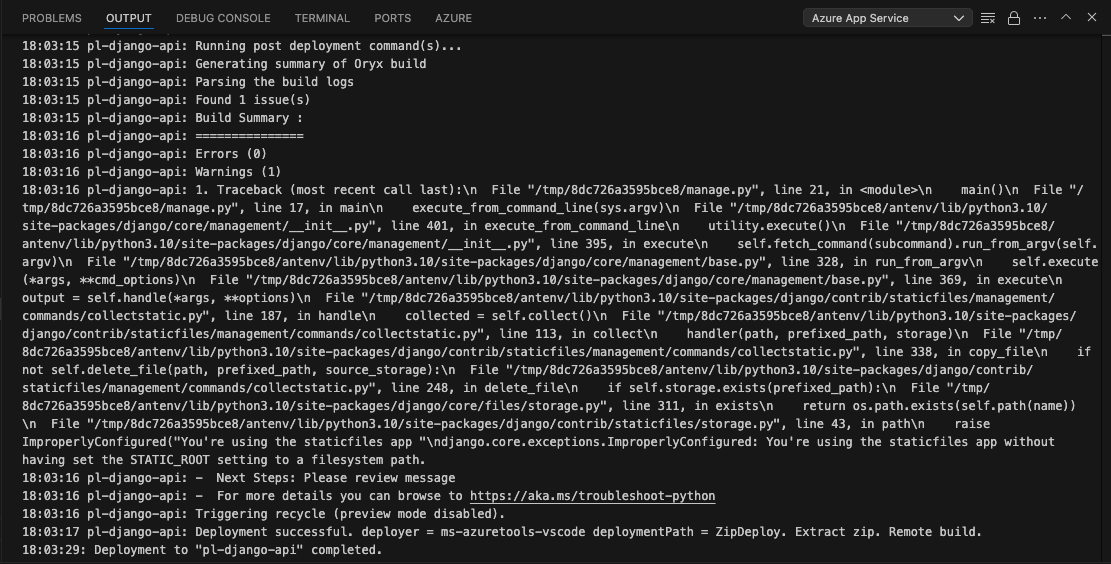
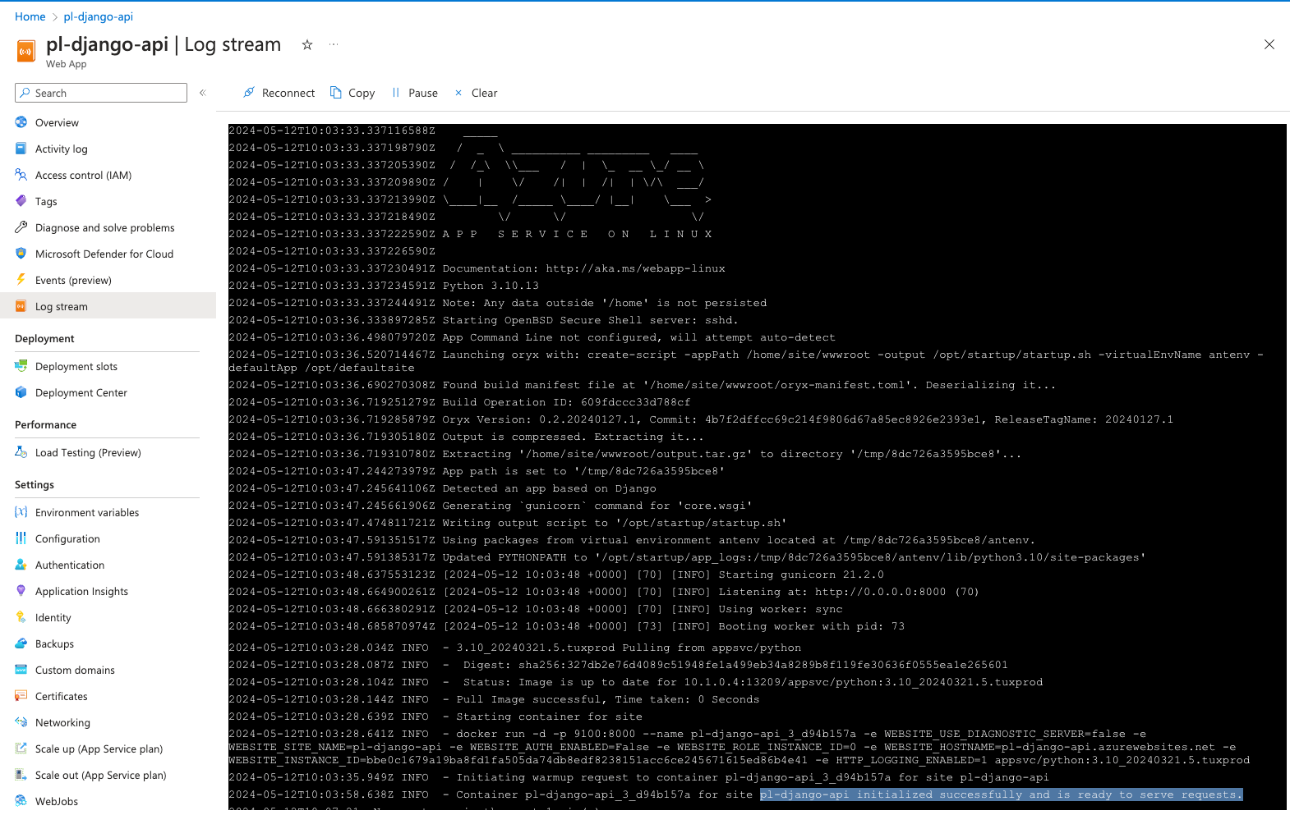
Navigate to the 'Log stream' section to verify that the message 'initialized successfully and is ready to serve requests' appears. This message indicates that the application is now ready for use.
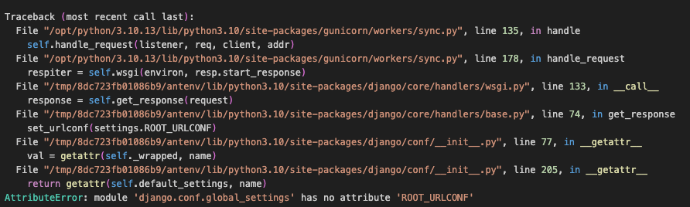
I encountered this error in the Stream Log and found a solution on Stack Overflow link. To resolve the issue, simply disable Application Insights, restart the application, and the problem will be resolved.
Exploring Django Rest API Testing on Azure Web App
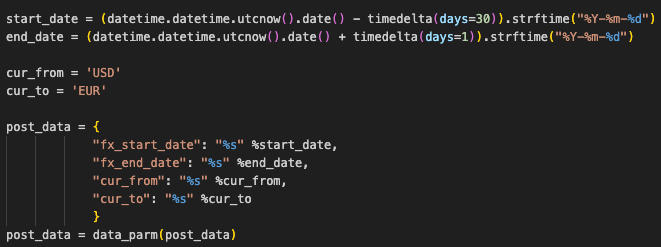
Define the payload
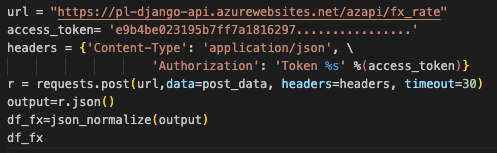
Run the Rest API
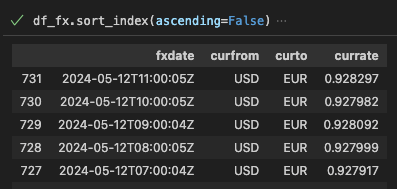
Output of the API call
To retrieve passwords from Azure Key Vault instead of configuring them in the file, start by adding the necessary library to the requirements.txt file as demonstrated below
django_filter
Django==3.0.7
djangorestframework
django-rest-swagger
django-rest-auth
psycopg2-binary==2.8.6
azure-identity
azure-keyvault-secrets
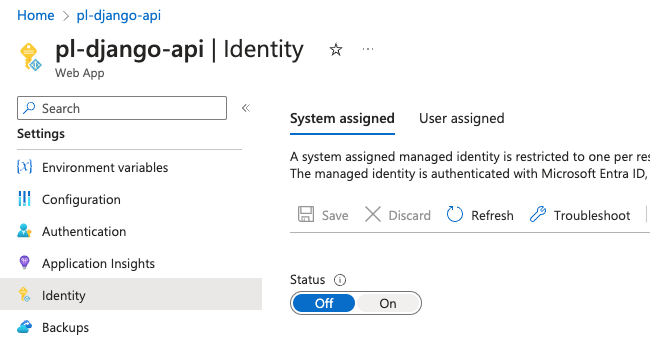
Navigate to the menu on the Azure portal and select 'Identity' to set the Status to 'On'
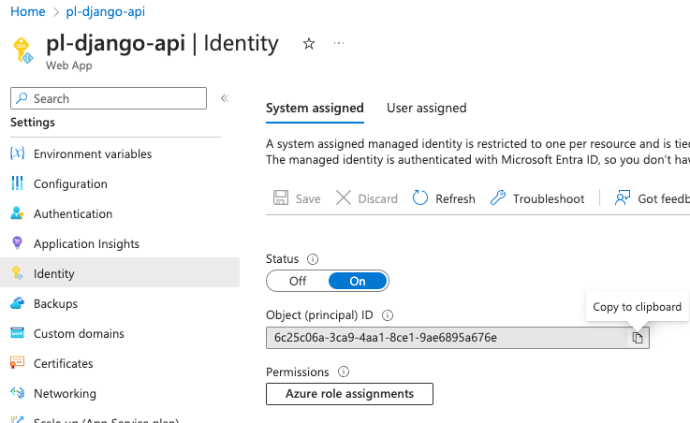
Copy the object id of the Managed Identity
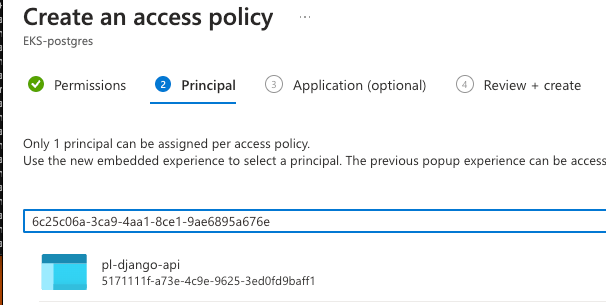
Grant access to the pl-django-api web app by using the Managed Identity object ID copied from the previous section
The next step is to modify core.system.py to retrieve the secret from Azure Key Vault as shown below
from azure.keyvault.secrets import SecretClient
from azure.identity import ManagedIdentityCredential
keyVaultName = "...-postgres"
KVUri = f"https://{keyVaultName}.vault.azure.net"
credential = ManagedIdentityCredential()
client = SecretClient(vault_url=KVUri, credential=credential, connection_verify=False)
secretName = "pg-admin"
retrieved_secret = client.get_secret(secretName)
pg_password=retrieved_secret.value
Next, we will discuss using Azure DevOps for deployment instead of manually deploying from Visual Studio Code. To set up the Azure DevOps pipeline, we can configure the settings in a file as illustrated below and add it to Azure DevOps
trigger:
- master
variables:
# Azure Resource Manager connection created during pipeline creation
azureServiceConnectionId: 'dd8ab41a-a773-42a0-961d-38b87963c692'
# Web app name
webAppName: 'pl-django-api'
# Agent VM image name
vmImageName: 'ubuntu-latest'
# Environment name
environmentName: 'pl-django-rest'
# Project root folder. Point to the folder containing manage.py file.
projectRoot: $(System.DefaultWorkingDirectory)
pythonVersion: '3.9'
stages:
- stage: Build
displayName: Build stage
jobs:
- job: BuildJob
pool:
vmImage: $(vmImageName)
steps:
- task: UsePythonVersion@0
inputs:
versionSpec: '$(pythonVersion)'
displayName: 'Use Python $(pythonVersion)'
- script: |
python -m venv antenv
source antenv/bin/activate
python -m pip install --upgrade pip
pip install setup
pip install -r requirements.txt
#cp ./core/azure_settings.py ./core/settings.py
workingDirectory: $(projectRoot)
displayName: "Install requirements"
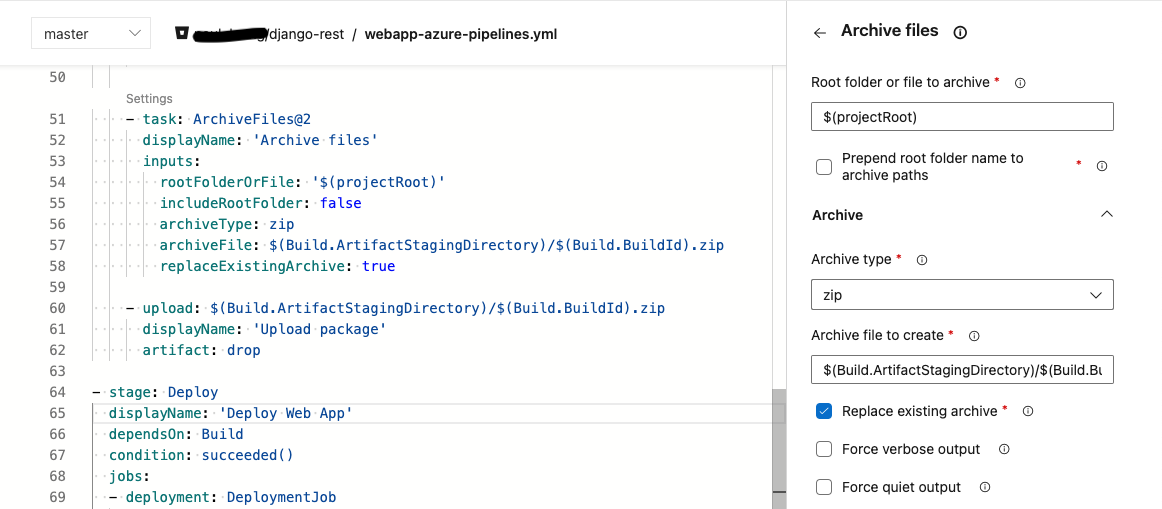
- task: ArchiveFiles@2
displayName: 'Archive files'
inputs:
rootFolderOrFile: '$(projectRoot)'
includeRootFolder: false
archiveType: zip
archiveFile: $(Build.ArtifactStagingDirectory)/$(Build.BuildId).zip
replaceExistingArchive: true
- upload: $(Build.ArtifactStagingDirectory)/$(Build.BuildId).zip
displayName: 'Upload package'
artifact: drop
- stage: Deploy
displayName: 'Deploy Web App'
dependsOn: Build
condition: succeeded()
jobs:
- deployment: DeploymentJob
pool:
vmImage: $(vmImageName)
environment: $(environmentName)
strategy:
runOnce:
deploy:
steps:
- task: UsePythonVersion@0
inputs:
versionSpec: '$(pythonVersion)'
displayName: 'Use Python version'
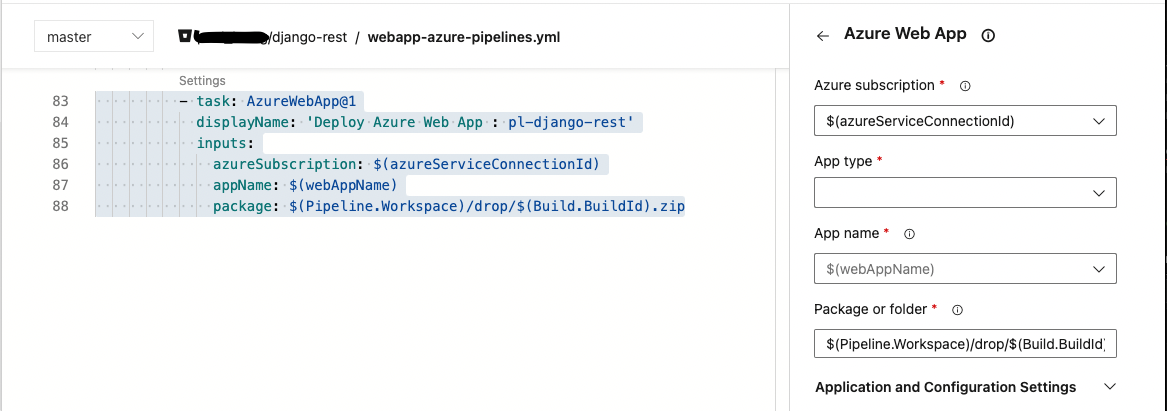
- task: AzureWebApp@1
displayName: 'Deploy Azure Web App : pl-django-rest'
inputs:
azureSubscription: $(azureServiceConnectionId)
appName: $(webAppName)
package: $(Pipeline.Workspace)/drop/$(Build.BuildId).zip
Here, I will show some settings that can be configured using a GUI format in Azure DevOps
Finally, we need to add the security connection to Azure by configuring it as shown below
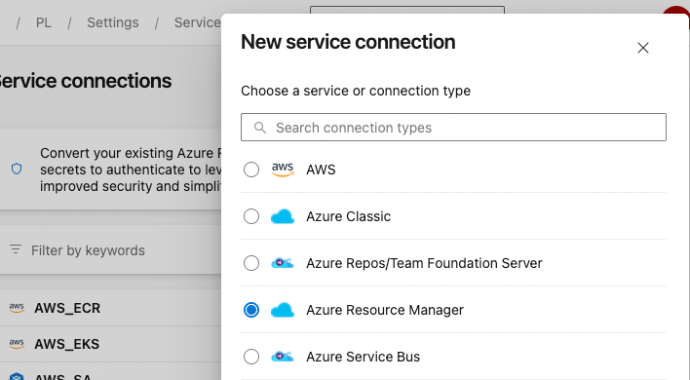
Navigate to 'Service Connection' under Project Settings in the menu and click on 'New Service Connection' and chose 'Azure Resource Manager'
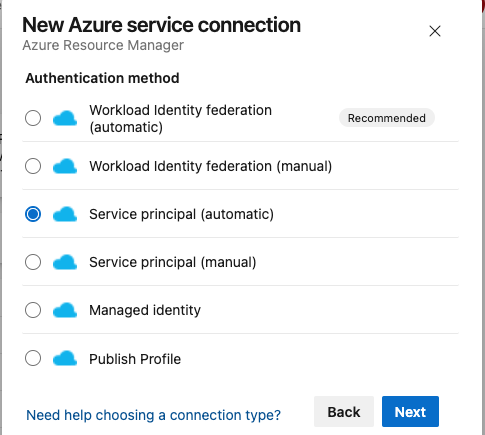
Then choose 'Service principal (automatic)'
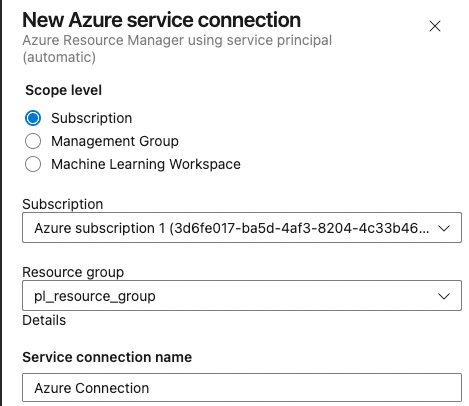
A window will prompt you to log in to Azure for authentication, after which you can select the resource group